Here you can see step by step how to connect Google Search Console to your SEOFuxx account.
Step 1: Prepare your Google account
You need a Google account and access to Google Search Console. If you don't have a property yet, sign in at search.google.com/search-console and add your website.
You have to be owner or administrator of the property, the connection won't work with fewer rights.
Step 2: Start the OAuth connection
- In your SEOFuxx account, go to Account → Search Console
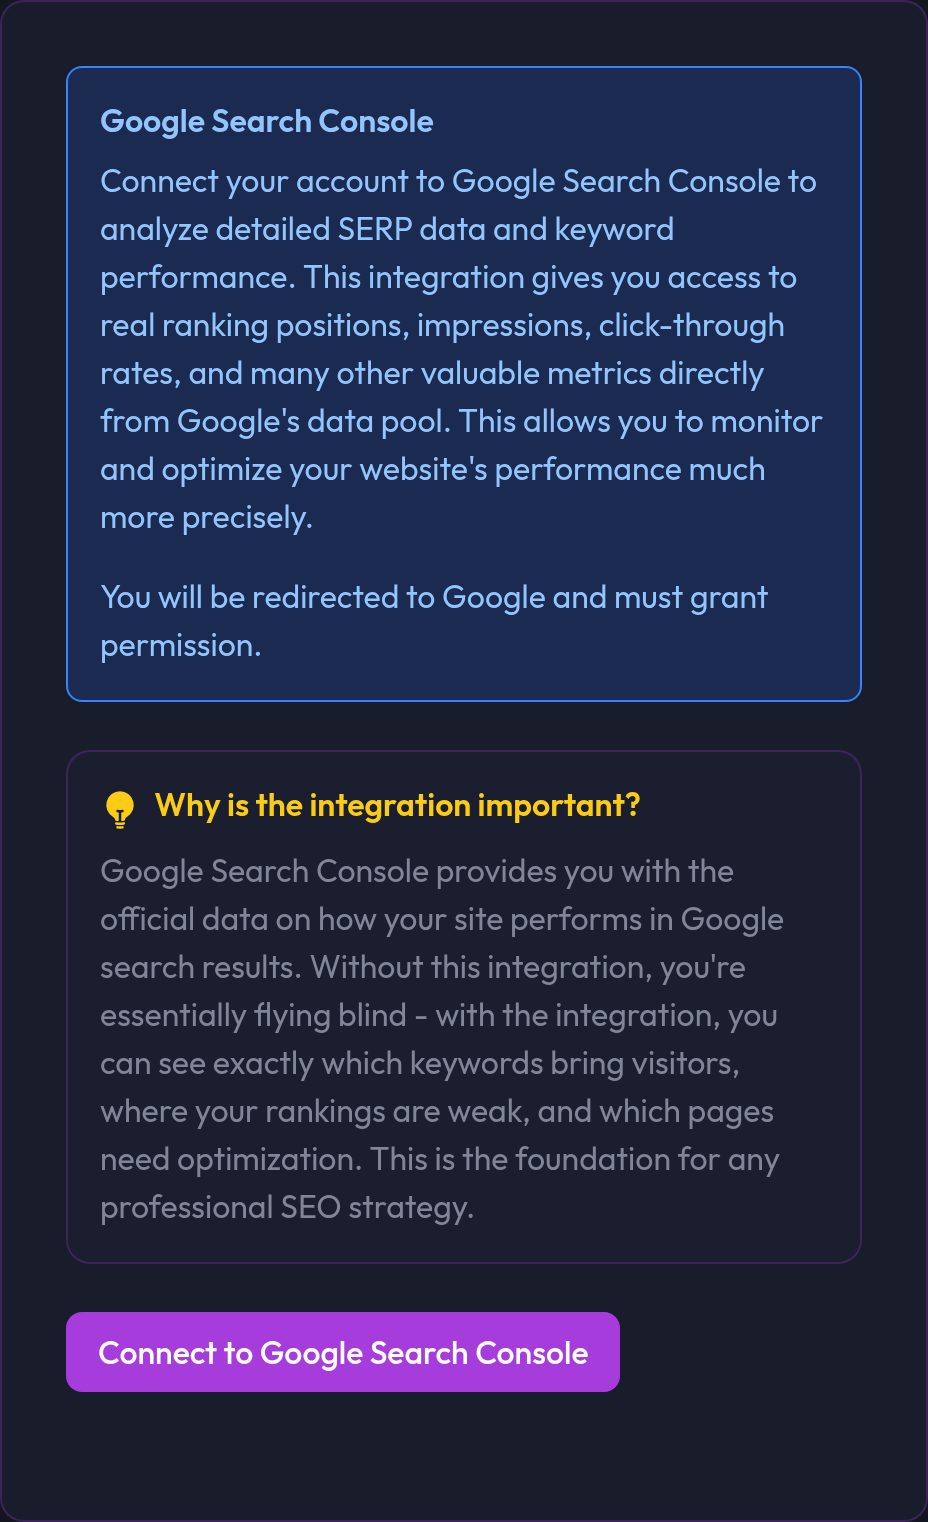
- Click the "Connect with Google Search Console" button
- You land at Google and confirm the connection there
Step 3: Grant permissions
Google asks whether SEOFuxx may get these permissions:
- View and manage Search Console data
- Access to your properties
Click "Allow" to continue.
On privacy: SEOFuxx only stores the tokens it needs and only accesses the data you share.
Step 4: The property is matched
After that Google sends you back to SEOFuxx. You don't have to select anything: SEOFuxx picks the one of your properties that matches the domain of your project.
- The domain of your project has to exist as a property in the Search Console (see Account: Domain and Password)
- The top of the SERPs page shows which property is used
- If there is no matching property, you get a warning there
Step 5: Check the connection
Back in your account you see the connection status including token information. That tells you right away wether everything is linked correctly.
Step 6: Sync data
Now the connection is active. SEOFuxx can:
- retrieve search queries, meaning which keywords bring traffic
- evaluate clicks and impressions
- track position data for your most important keywords
- keep an eye on the CTR development
The first data arrives after a few minutes. You'll find your rankings under SERPs in the navigation.
Working with the Sitemap tool
Once Search Console is connected, you can turn on the Search Console switch in the Sitemap tool. The freshly created sitemap then goes straight to Google.